Good morning and it is a cold one. It has been freezing during the night, everywhere is white over but the temperature at the moment is 0.01 brrrr. The highest it is going to be today in Derby is 6 degrees so I guess I will have to wrap up warm. Yes I am venturing out today, hopefully.
Well, I put this photo on facebook and everyone loves the calendars.
It really makes me feel so happy, so thank you to everyone who has liked it. I have had lots of requests to let people know how I made this, so here goes.
I used the subtles range of cardstock together with the subtles range of DSP as you know that they match perfectly, just one of the many benefits of Stampin' Up! products
I started off with a piece of card that measures 9 1/4" x 6" (you can then get two calendar bases out of a 12 x 12 sheet of card).
Score the card, along the long side at 3 3/8, 6 3/4, 7 3/4 8 3/4
Using a bone folder, burnish the score lines as shown in the picture below. They are all valley folds with the exception of one, which is a mountain fold, as you can see.
This will leave you with the calendar base. I would suggest that you put an X on the side that is the front, so that you know which is which, it could help with the first one you make.
Take a piece of black card that measures 5 7/8" x 2 7/8" and place this onto your calendar base. If you are happy with the size take a piece of DSP that matches your cardstock and cut this at 5 6/8" and 2 6/8" Place the patterned paper on top of the black card and double check that you have a small black border all the way round. If you would prefer to have a larger border, just trim the DSP a little more. Stick both of these together. I have used wet glue so that there is a bit of wiggle room.
Take your little date calendar and stick it onto a piece of black card stock that is slightly bigger than your calendar so that it gives you a little black border all the way round.

Lay the calendar with border onto your patterned piece and measure the area to the side of your calendar. This will give you the size of the next black piece of card.
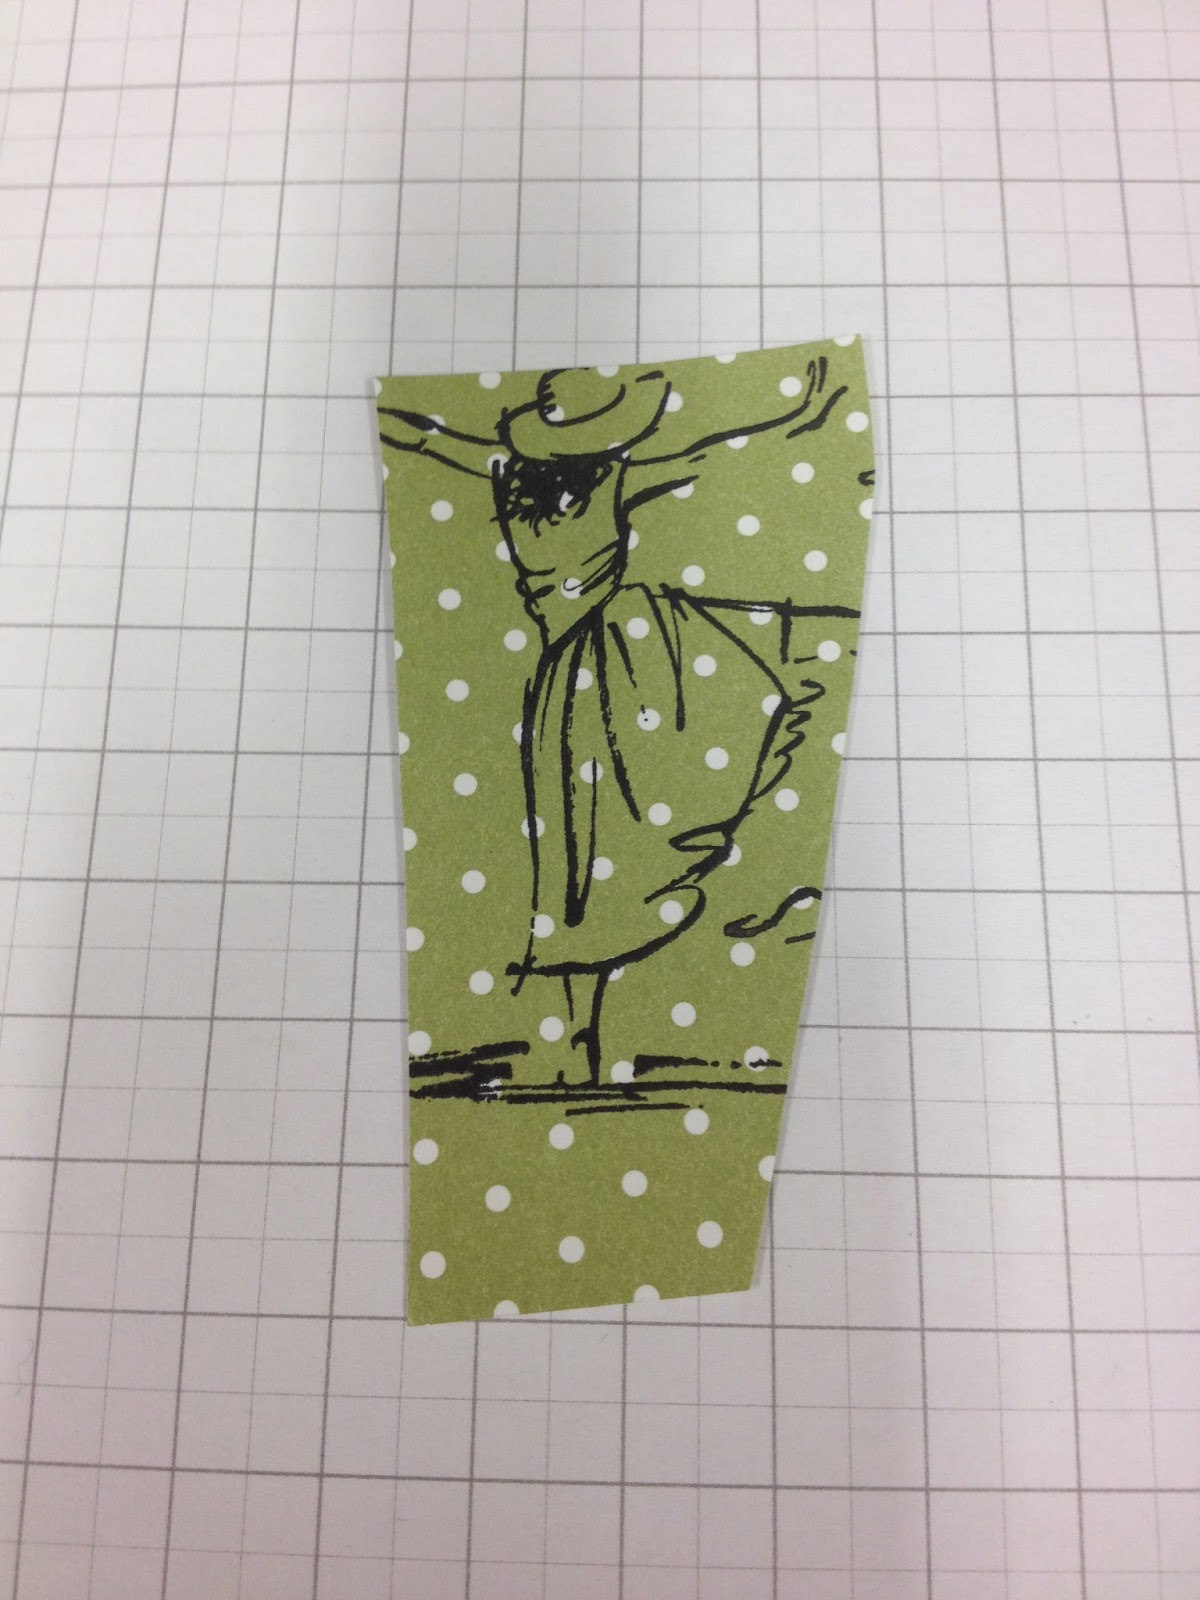
Cut out a piece of Shimmery White card to fit onto the black card at the side of the small calendar dates and stamp the dancing lady from the Beautiful You stamp set onto this, using Stampin' Up! archival ink.

You can colour in the lady using the new watercoloured pencils
Or you can stamp her out again, onto the same patterned paper that you have already used
to cut out her dress

Then stick the dress onto the stamped image using wet glue so you can wiggle it if you need to. Stick this to the black card so that the image has a small border.
You then place both the image of the girl with a small black border
and the calendar that has a small black border next to each other on the base and if they all fit, stick them down.
Then you stick those, onto the base of the calendar stand.
Put wet glue onto the small tab of the calendar stand, bring the calendar base round and press together, holding for a few seconds to ensure that they have stuck together
If you need any help or further explanation, as always you can pop in to visit me if you are in the Derby area or get in touch by email,
tracey.rossos2@hotmail.com
Maybe I should take the plunge and do a 'LIVE' facebook post, something to ponder over the weekend.
If you dont already have a Stampin' Up! demonstrator, I would be very happy to help you with any Stampin' Up! queries or orders that you may have whether you are local to Derby or not.
Thank you for popping in for a read, wishing you a wonderful day. Tracey x


No comments:
Post a Comment